Showing posts with label pouches. Show all posts

Tuesday, November 15, 2016

Craft Room Pegboard Organizer


Quilting is such a tool and supply intensive hobby and I don't have my own dedicated space. I have a small sewing corner in the game room/family office and storage is a massive problem for me. My supplies are sprinkled throughout the house, and a lot of my tools sit on my sewing table where they should theoretically  be right at hand to use. The problem is that I am constantly battling piles and tossing them about in my space. When Sports Authority closed over the summer, I asked my daughter to bring home some pegboards, thinking I might use them on the big game closet doors, but the smallest of the four pegboards she brought was 40" x 46.5". Then I had a revelation - I could move the print behind my desk to another room and install the pegboard behind my sewing table.

After months of contemplation and sporadic planning, I FINALLY tackled the project and I am thrilled with the results. I apologize in advance for the poor lighting. I live in cave and my photography skills are mediocre.

PEGBOARD SUPPLIES:

40" x 46.5" Pegboard (mine has 1/4" holes)
1" x 2" x 8' board cut into (2) 1" x 2" x 40" boards
Spray paint primer
Leftover Semi Gloss Paint - Sherwin Williams Dover White
Smooth foam roller
Leftover wall paint to paint 1 x 2 
Drill & long screws


PEGBOARD ACCESSORIES:


CONSTRUCTION AND PAINTING

I enlisted the help of my 8 year old and we painted the pegboard using a smooth foam roller to match our house trim. We also painted the 1 x 2 to match the wall color, but where the pegboard is hanging the 1 x 2 is not visible.


While the paint dried, we found the studs in the wall behind my table and marked them. It's a weird area with unpredictable distances between the studs because we closed a large doorway in that spot when we moved in. I figured out how high I wanted the top of the pegboard, marked the center, studs and out 19.5" on each side. 45" down I marked the center, studs, and outer edges. My husband drilled the 1 x 2s into the studs at the top and bottom. We then centered the pegboard over the boards and drilled into the 1 x 2 along the top and bottom.


ACCESSORIES:

I opened the pegboard hook assortment and just played around with the different hooks until I found what worked best for each item. 

Ledge:

I hung the IKEA MARIETORP ledge upside down so that the lip hangs down and doesn't obscure my little treasures and the holes for hanging are on the top and I used a longer straight hook through each pre-drilled hole to mount it. The best part is that this ledge cost only $5.99!


Planters as Buckets:
Really happy about this one because there are no handles and there are perfectly placed holes for hanging.

I filled the six SKURAR planters with:
Wonder clips
Pencils and fabric marking tools
Pens
Sharpie markers
Decorative scissors
Key fob and lanyard hardware

Have I mentioned that I am an avid collector of office supplies in addition to craft supplies?


Multiple tool holder and various tool hooks:

I used the multiple tool holder to store multiple types of scissors and shears, as well as the screwdriver I use to change out Juki sewing machine feet, and a backup seam ripper. Pliers holders store pinking shears and Gingher dressmakers shears. It is apparent that I own A LOT of scissors. And this is far from all of them.

Hooks store rotary cutter, pinking blade rotary cutter, key fob pliers, little snippers, hold punch, two strawberry pincushions made for me by my friend Gwen, a pincushion made for me by my friend Teal, measuring tape, elastics, twill tape, white chalk, blue chalk, seam gauge, Xacto knife.


The top of the pegboard houses cone thread, baker's twine, ribbon, perle cotton, embroidery hoops, washi tape, a hexie pincushion I received in a swap with Tracy Berrett of Quilter's Candy Box, Pouch with a View filled with 1/2" hexies, zippers, and various treasures including a Bonnie and Camille Ruby owl made by my talented friend Kelly and a 1960's fabulous pincushion that was my mom's.


The cleanest my corner has been in a long, long time.


Wednesday, July 22, 2015

Pouch with a View Pattern


I'm very excited to announce the release of my new Pouch with a View pattern. It's been a whirlwind week of samples and testing! Take a peek here at the pouches my friend Ellyn tested and made in about 18 hours, including one with a teeny, tiny pieced hexies WIP she had on hand.

The pattern is available on Payhip and Etsy.

Pattern features include:
Four sizes (14" x 14", 11" x 11", 8" x 8", 5" x 5")
Vinyl window so you can see what is inside
Patchwork and plain panel exterior options for all sizes
Fully lined interior
Easy binding method (contrast binding is still an option)
Detailed step by step pictures and diagrams

Size comparison:

Some of my best ideas hit me out of nowhere like a hammer on the head. I was sitting on the sofa one night digging 1/2" hexies out of a gallon size Ziploc bag, and I was suddenly overcome with shame. I am a quilter, bag maker, owner of countless pouches. WHY am I using ugly plastic??? The answer was really that Ziploc bags are handy, and I didn't have a single pouch that was comparable, nor have I seen a pattern quite like the one that suddenly appeared in my head.

The exact moment of inspiration:

I dropped my hexies and grabbed a pencil to start drafting a pattern with three sizes. It was already late, and when I went to bed all I saw was patchwork and binding and vinyl and storage I can be proud to use in public. I woke up early and started sewing. I was so pleased that it worked out, and that I could use up some of the scraps that I am drowning in (hence all the 1/2" hexie basting and sewing). It's like a a hexie I Spy bag, and I love it so much.


I wasn't the only one who was struck with pouch fever. E NEEDED to have at least one of her own to store Barbie shoes or Polly Pocket accessories (really, those things are the devil to keep track of). And so I made a second large one in Tasha Noel Vintage Market fabric.


The large size easily holds two decades and three childrens' worth of Barbie accessories:


And a medium size in Bonnie and Camille Daysail:


And a small one in Bonnie and Camille Vintage Modern:


 And a small one with the tiniest patchwork ever:

Now added to the pattern, an extra large 14" x 14" pouch. It's the perfect size to store unfinished 12" quilt blocks.


These pouches are so fast to make, and really satisfying to stack, sort, fill. I hope you will give the pattern a try. Feel free to post your creations on Instagram with the hashtag #pouchwithaview


Wednesday, January 28, 2015

Tooth Fairy Pillow Pattern


People sometimes say that the youngest child is the one to get all the hand me downs and to have the baby book without any entries. With the big age gap between my children, that isn't really the case for our family. I sew a lot more than I did when my older girls were younger, and I am now a stay at home mom with all the kids in school (the oldest is in college). This means that everyone has more handmade by mom, and that we finally have a tooth fairy pillow in the house rather than a little plastic Barbie present box. My 12 year old has one tooth left to lose, so she will get to use it one time. My six year old has four loose teeth, so she will likely get to use it very soon.

I sent a friend of mine the tooth template I made as well as my construction notes, but I thought I would share them here for anyone else interested in making one. This isn't a full tutorial, so basic sewing and embroidery skills are necessary to make it. My daughter, E, insisted that she needed a zipper pocket on her pillow (although I guess this is more of a pouch since I didn't stuff it...). I liked the idea of a front pocket, so we ended up with both - a front slip pocket and a back zip pocket.


Materials:

Exterior: 
(2) 5" squares of fabric
(2) 5" fusible interfacing or fusible fleece

Front Pocket:
(2) 3" x 3.5" rectangles of fabric
(1) 3" x 3.5" rectangle of fusible fleece (I used Pellon Shape Flex SF 101)
Fuse one pocket panel

Tooth applique: Approximately 2.5" square of white felt
DOWNLOAD PATTERN PIECE HERE - print at 100%
Embroidery floss: I used two strands of dark brown to embroider face details

Lace Trim (optional): approximately 23"

Ribbon hanger: 11" of 3/8" wide grosgrain (adjust length and type of ribbon as desired)

Back Zip Pocket (optional):
(2) 2.75" tall x 3.5" wide pocket lining pieces
(1) 2.75" x 3.5" fusible interfacing
(1) 2" x " 3.5" fusible interfacing
4" zipper (trim down zipper stop end to make zipper tape 3.5" wide total)
Interface the zipper lining side that will be attached to exterior and have zipper. Add the second strip of 2" x 3.5" of interfacing to the top of the same lining piece

Instructions:

Tooth:
Use tooth pattern piece to cut wool felt.
Embroider face detail onto wool felt

Front Pocket:
Center tooth on interfaced pocket piece
Applique in place
Add optional trim at the top, folding down the trim to the inside
Place both pocket pieces right sides together and sew with 1/4" seam allowance, leaving a space at the bottom to turn
Trim pocket corners
Turn right side out and press well
Center on front 5" exterior piece and topstitch in place

Optional Back Zip Pocket:
I am not including instructions for how to make an inset zipper as there are many tutorials out there. U-Handbag inset zipper tutorial has a good tutorial.
On the double interfaced piece, 1/2" from the top, draw the zipper placement box making sure to center on the pocket lining fabric
Attach the pocket lining fabric to the 5" back exterior panel 1/2" from the top edge, matching center of lining to center to exterior.
Follow tutorial instructions to make lining.
Add zipper.

Ribbon Hanger:
Baste ribbon hanger in place on front exterior panel. I lined my ribbon up with the outside front pocket edges.
Make sure to baste match the raw ends of the ribbon to the raw edge of the exterior piece, just as you would a bag handle.

Optional Lace Trim:
I don't actually measure the lace before attaching, I just take a longer piece and work my way around and then trim the excess. Turn lace edge under twice on the end to enclose raw edge. Pin and baste lace trim in place around front exterior panel, with the lace facing in, matching the raw edge of the exterior fabric to the gathered (non lacy) side of the lace trim.

The Pillow:
With right sides together, stitch the two exterior panels together, leaving an opening at the bottom to turn. Use the basting stitch on the seam as a guide for seam allowance. The lace I used needed a 3/8" seam allowance to cover the edge all the way. Go slowly and make sure not to catch the ruffled side of the lace in the seam allowance.
Trim corners.
Turn and press well.
Stuff if desired.
Close pillow opening with ladder stitch.


I meant to take a nice photo of E holding the little pillow for scale, but apparently the only time I think of such things is after I drop her off at school and her college age sister, R, is about to run out the door for class. So this morning, I grabbed R on her way out and asked her to pose. Rather than highlighting the sweetness of my little one, this pic managed to highlight the different ages and stages from oldest to youngest in our family. :)


Sunday, January 11, 2015

Handmade Christmas Gifts & Swaps

And finally, handmade Christmas gifts and swaps.

There are so very many swaps on Instagram and Flickr that I want to join, but more than anything, I wanted to have time to swap with my friend Gwen; I absolutely adore all of her creations and she has been such a good friend to me.
Gwen made me the most adorable Ho Ho Ho pillow. I forgot to take a photo of the back, but it is the green owl and presents print, and so clever. The side button closures are the perfect finishing touch. This pillow has already been very well loved by all in the family - a favorite to snuggle on the couch.

Ho Ho Ho Pillow

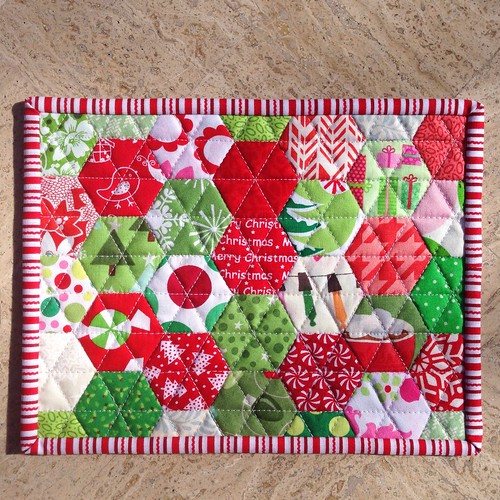
You may notice that there are several fabrics in the pillow that are also in the hexie Christmas stocking I made. Gwen mailed me some fun Christmas scraps to add to my stocking - she has the best holiday fabric, truly. As a little thank you, I used leftovers from the generous scraps she sent, along with some of my own, and made her English paper pieced hexie mug rug/mini quilt.
Christmas hexie mug rug/mini quilt

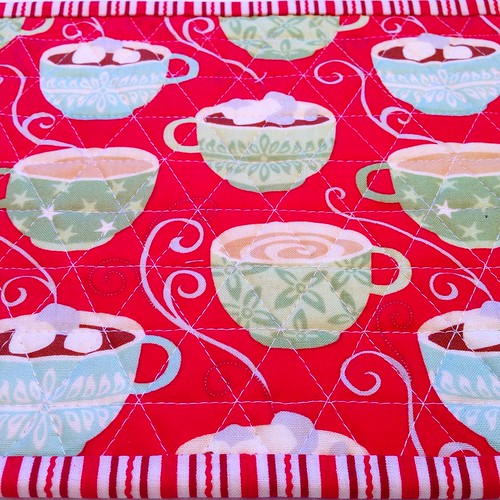
Backing is one of my favorite Kate Spain prints.

Untitled

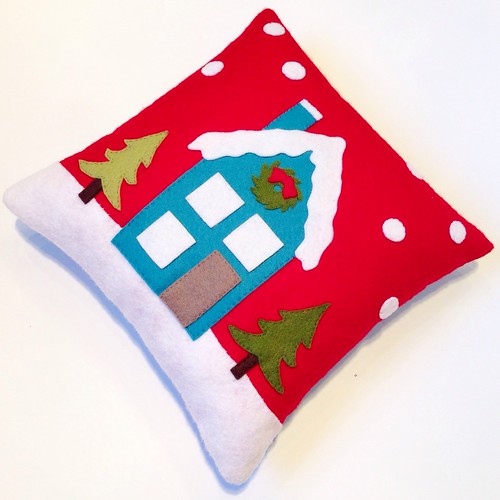
I also made Gwen a mini version of my Crate and Barrel Winter Solstice Pillow copy. 

Mini felt winter solstice pillow

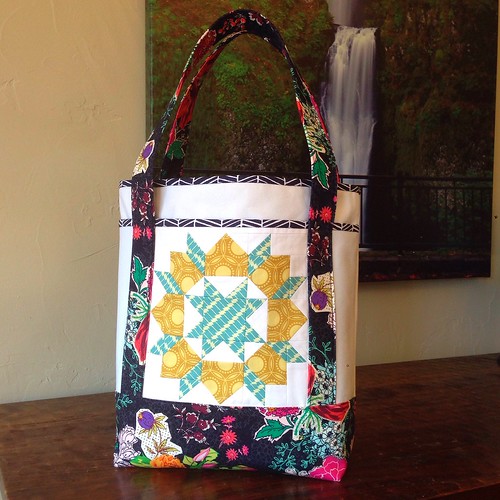
Finally, I made her a medium size canvas Nova Tote using a Swoon block on the pocket.  This bag is not really in the theme of a Christmas swap, but I wanted to make something that can be used all year. The Priory Square contrast bottom is interfaced with fusible fleece. I am so in love with this navy Priory Square print, and Joel Dewberry herringbone is one of my favorite binding fabrics. Inside, I added a DS Prints navy and blue floral lining, and a 9" inset zipper pocket.

Swoon Nova Tote

I made some pouches for quick gifts. Right now, I love to make patchwork zipper pouches. I say quick, but I got carried away cutting mini charms for this pink quilt. I keep trying to find the motivation to cut some from other color scraps, but it hasn't happened yet.
Pink patchwork pouch

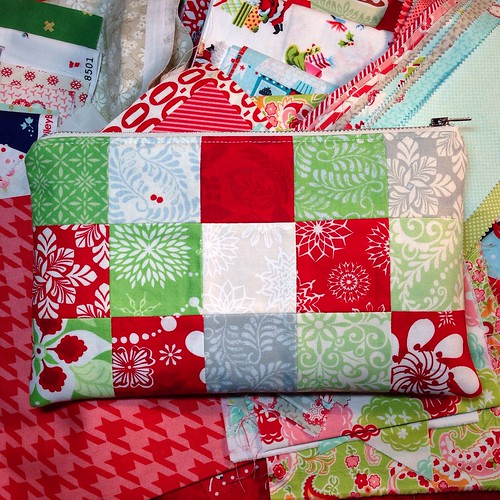
For my Crafty Tuesday holiday swap, I made a Kate Spain Solstice patchwork zip pouch. I used charm squares subcut into mini charms. I used some of the leftovers to make hexies for my stocking.

Solstice patchwork pouch 6" x 10"

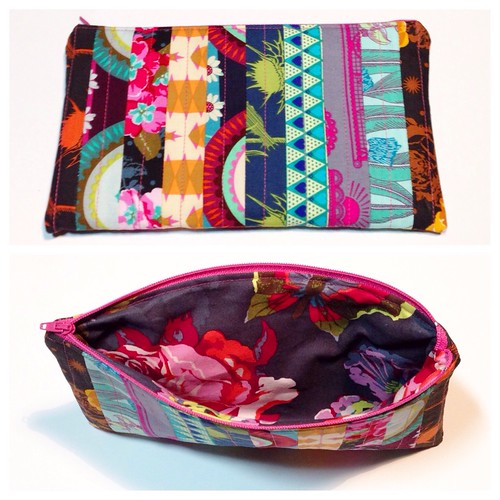
The last pouch I made, I used strips of Anna Maria's Pretty Potent line and lined with another AMH print. This was fun to construct. I usually use two panels for the exterior, but on this one I pieced my strips lengthwise and folded in half as one panel. It was a puzzle to attach the zipper and lining, but not difficult at all. 
Untitled

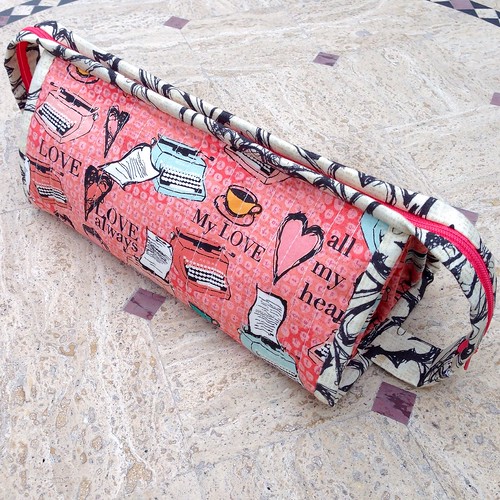
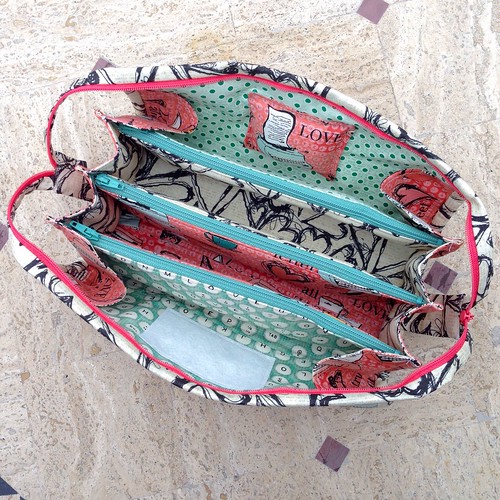
The very last bit of sewing I did in December was another Sew Together Bag. Fabric is All My Heart by Iron Orchid Designs for Blend Fabric.


Sew Together Bag 

Sew Together Bag 

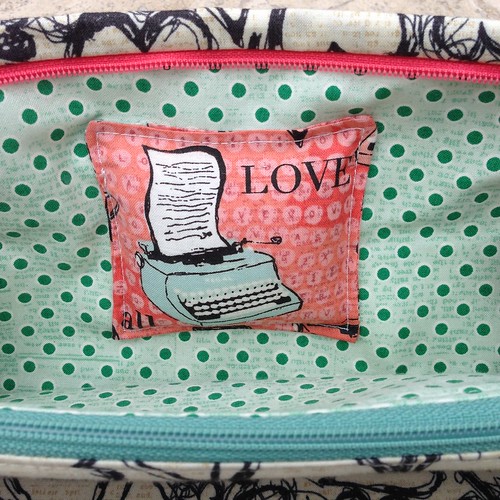
The typewriter pincushion is my favorite detail:

Sew Together Bag

And that's a wrap on December sewing.