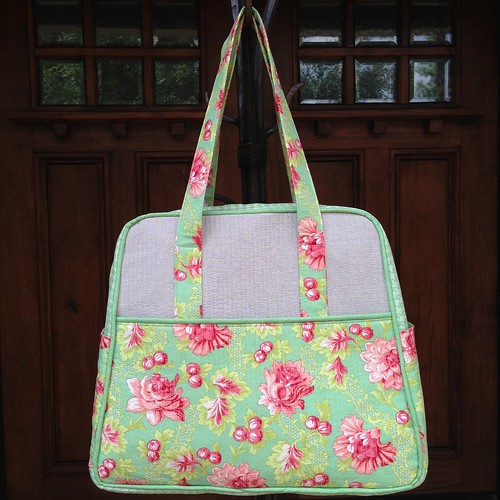
Several weeks ago, I made an Instagram friend an Amy Butler Weekender Travel Bag using Fig Tree & Co. Somerset fabric line. She asked if I could make her a companion Sew on the Go Bag by Cotton Way. This week I was finally able to sit down with the pattern and give it a try. I am a very visual person, and it took me some time to work through the construction of this bag, particularly how the top lining/bindng is assembled. The design of the Sew on the Go Bag is very clever, but not intuitive for me based on how I have previously assembled bags with a top panel and binding (or in this case, a faux binding).
I spent some time fiddling with pieces and looking at Bonnie's blog post pics. Along the way, I made some notes and took some pictures of the trickier pattern sections for future construction efforts. I don't know about you, but sometimes I forget the process if I don't make a pattern again for months. I am sharing my notes and pics for other visual learners. This is a long and pic heavy post, so sorry in advance.
The pattern features a front panel that unzips to lay flat and stores scissors and thread on ribbon. The front pocket panel behind the zippers is vinyl so you can see and store various items. I love this feature - so clever. On each side of the center pocket, there is a narrow pockets to store flat items such as rulers.
Patchwork center:
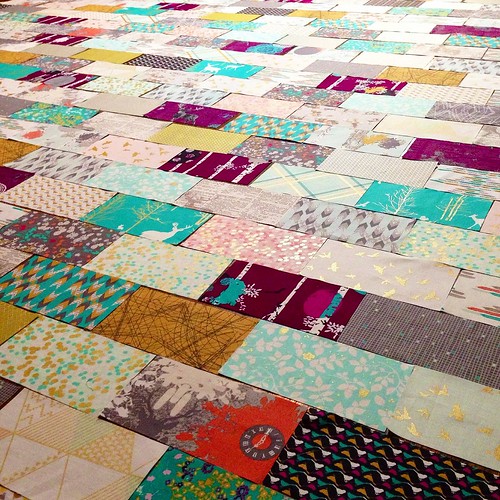
I opted to do patchwork on the center of the pocket panel, I used 2.5" mini charms - 3 across x 8 down, pieced and trimmed down to the size specified in the pattern. I recommend that you lock your exterior top and bottom row seams with a backstitch after trimming, as you will be turning the piece inside out and back again when you are adding zippers, and the seams can come undone.
Interfacing:
The pattern calls for white fleece or batting between the front and back of the pocket panels, and behind the exterior pieces. I used batting for all the pieces, and only quilted the main panel. For the pockets, I simply fused the batting to the back and left them plain. The front pocket is a bit heavy once you add zippers and vinyl. I think in the future, I will add interfacing to the back of my main panels prior to adding the batting...because I love to interface the heck out of everything.
I used shape flex SF101 interfacing on the handles rather than white fabric.
Pocket zippers:
Adding zippers was the first tricky step I came to. It really wasn't terribly difficult because I have sewn a fair number of zippers, but I had to play with the pieces to figure out how to sandwich the zipper between the top and bottom half of the pocket pieces.
You first attach zippers to each side of the center panel. The center panel piece is twice as long as the height of the pocket because it folds down at the top to make the backside pocket lining. I folded my long pocket pieces with right sides together and pressed a crease to find where to position the top of the zipper. It is easiest to baste the zipper to one half of the panel exterior, fold down the second half over the zipper top, and stitch with 1/4" seam (use a zipper foot).
I turned my zipper so that the pull faced the batted side of the pocket, which I wanted on the outside of the pocket (It isn't really necessary or important, but I like to be consistent.). On the first side, I laid my zipper face down on right side edge of the the exterior panel, sliding the zipper pull down to keep it out of the way. In the pic below, I had not yet pulled the top edge of the zipper tape out of the way, but there is another pic that shows it later on. Pull the extra tape at the top of the zipper to the outside, with the metal top of the zipper up by the folded top crease, but still 1/4" away from the outside edge of the fabric. This is where basting the first side comes in handy, so you can see what you are doing there. Repeat the process on the second side. Make sure your zipper tabs are facing the same direction on both sides. Once you have attached both zippers, flip the center panel right side out and press it.
After attaching zippers to each side of the center panel, you attach side panel to each zipper. I opened my zipper tape to keep the zipper foot out of the way. In the pic below, I was attaching the left side pocket panel with the lining side of the pocket facing up and the zipper facing down. You can see in the top pic below that I have the zipper tape positioned so that the metal at the top is up to the crease in the pocket panel fold. The bottom pic shows how to pull the zipper tape at the top out of the way, and to fold the other half of the pocket panel over the zipper tape. Stitch 1/4" and fold the side panel to right side out.
*You can also see in the pic that I pinned the ribbons and scissors so they wouldn't move and get caught in the zipper seams.
Right side attachment:
I don't recall if the pattern specifies, but I basted my vinyl pocket on one main panel, and then basted my completed pocket panel on top of that to keep all of the layers together nicely.
From there, assembling the basic structure of the exterior, lining, and top zip panel was like other bags. However, attaching the zip panel to the lining felt very confusing at first. It took me some time to work it out, but now it makes sense. With your lining facing right side in, face your completed top zip panel right side up. Pin or clip all around the top, matching side seams, and sew together with 1/4" seam allowance. This is what it looks like after you stitch them together:
Then you will attach your lining with the attached top zip panel to the exterior of the bag. It looks pretty crazy when you insert the exterior into the interior (see pic below); it doesn't look like it will work, but it does. Keep your lining fabric turned with the right side in just as it was when you finished attaching your zip panel. The zip panel is facing up. The lining piece that is attached to the sides of the zipper (the red fabric here) is what you will attach to the top edge of the exterior of your bag. Make sure the actual zipper and the panel around it (the green fabric here), is pushed down out of the way.
Matching side seams, work your way around the bag, pinning or clipping the exterior of the lining. It will look like this when you are done. Attach with 1/4" seam allowance.
Hopefully you left an opening in the bottom lining of your bag to turn everything right side out. It will look like this:
The pattern calls for stitching each side of the handles down with one short seam and adding the rest of the handle detail at this step. Oh my word, this was fiddly and made me sweat because you have to open the hole in the bottom of your lining to make a space to stitch down the handles to the exterior panel only, and not the lining fabric. In the future, I think I will make my lining opening larger than 5-6" to give myself more room to maneuver. These handles are not my best handles ever, but it's ok - it's a learning process.
The faux binding (my term for it, but surely not the actual technical term) on this bag is really genius. It saves a lot of time and looks pretty good. To make this lining/binding, you just allow the lining fabric to show 1/4" on the exterior of the bag. It is really easy to just eyeball it because the seam you use to attach the lining to the exterior is 1/4", so if you have that top seam facing straight up, you just roll the lining fabric back down behind it and 1/4" will naturally show on the front. Wonder clips work great to hold the fabric in place.
When I machine bind, I really like to use my walking foot to help keep my stitches straight. I switched to the walking foot, and stitched the lining/binding down in the ditch on the front.
You can see how the top lining/binding stitches look on the backside in the pic below. I didn't really know what to do with the side lining seams (red fabric) that peeked out on the interior of the bag, so I flipped up the raw edges and hand stitched them to the lining to hide them and keep that piece of fabric in place.
My finished product is nowhere near perfect, but I love to try new techniques, and learned a lot along the way.
And a pic of the companion Weekender Travel Bag:


.jpg)


