Showing posts with label mini quilt. Show all posts

Monday, October 5, 2015

Tiny Scrappy Circle Mini Quilt Tutorial


A couple of years ago my daughter made some round fabric covered magnets with my scraps. Sometimes I have a hard time letting go of little odd scraps of beloved fabric, so for part of my "leave no fabric scrap behind" project this year, I decided to clean out some small and cut sections of scraps by making an applique circle mini using the same cutting method that we used for the scraps. It's a bit of an odd method, but it worked out well, and it was a great on-the-go and TV project.

Quilt Details

(676) 3/4" fabric circles
20 3/8" square of Essex linen in flax
(2) binding - WOF strips Bonnie and Camille Miss Kate scallops
22" square of backing fabric
22" square of batting
Elmer's glue to baste circles

Cutting the Circles

I used a 3/4' magnet I bought at a craft store to trace the outline of the circle on the back of each scrap. Fussy cutting these little circles is so addictive! Both large and small scale fabrics work well to highlight different details; one fabric print cut in different areas can look completely different.

Tip: Press and starch the fabric well prior to cutting to help the fabric hold its shape during cutting and gluing.

To hold the fabric in place to trace, I set the fabric on my metal IKEA tray, and laid the magnet on top. This help keep the fabric from shifting around. I then used my favorite little Singer scissors and carefully scissor cut the circles. My circles aren't all perfectly round, but they worked in the end.


Adhering the circles to the background

I thought 20" finished would be a good size for a mini or a big sofa pillow. I intended to cut my background fabric 20 1/2" square, but somehow I cut it a smidge smaller at 20 3/8". I'd love to tell you it is because I subconsciously knew this would work better, but it was serendipity because it worked perfectly for laying my circles side by side.

I cleared a spot on my table just like I would if I were going to work on a big puzzle, and laid the background fabric on it. I used a Clover Hera Marker  to score a perimeter line 1/2" from the edge of the background fabric to guide placement of the circles.

The trickiest part was figuring out the best way to attach these without spending a year on it. In the end, I decided that a mini quilt hanging on the wall won't be handled a lot, so I just used Elmer's glue to temporarily baste them to the background. I used a very thin layer Elmer's from a bottle spread across the back - try not to use so much that it soaks through the front of the fabric. I tried a couple using a glue stick and that was not the best method because it pulled on the bias edges of the circle, and also frayed the edges of the circles.

For projects that will get a lot of use - it is probably a good idea to use a product like Heat n Bond Lite to fuse each circle on. I thought I would use it, but the idea of tracing and cutting 1,676 Heat n Bond circles made me sad.

Starting in the lower left hand corner of the background fabric, I laid one circle touching both the side and bottom Hera lines. I then added circles along the bottom row, each side of the circle just barely touching each other, and the bottom of the circles touching the bottom Hera line. Once I figured out that the placement work perfectly, I glued each circle before laying it down and smoothed it in place gently with my fingers.

I continued to work horizontally and sometimes vertically, gluing and placing until all the space was filled, choosing fabric as I went. I worked over the course of several days, little bits at a time when I had a few minutes.


If you look closely, you can see the Hera lines in the photos below.


Quilting

To permanently adhere the circles to the background, I just quilted it densely - one line in the center of each circle, and lines 1/4" left and right of center, going both directions.


After quilting, I trimmed the edge edge of the quilt to 3/8" from the edge of the circles. Two WOF of strips works perfectly to bind the mini.


I hope this helps anyone who would like to use up some teeny scraps!

Monday, September 7, 2015

Minis, minis, minis


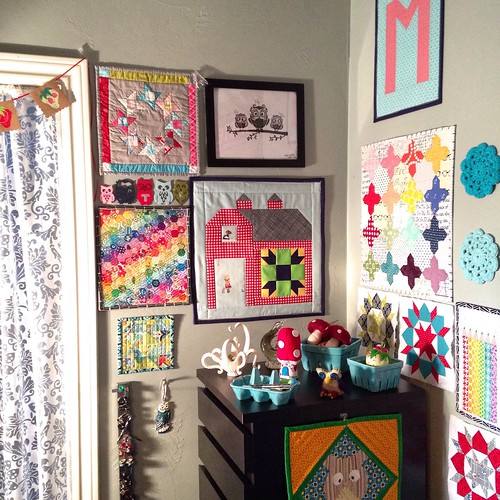
My sewing space consists of a small corner of our multipurpose game room. Even so, my little corner of mini quilts has been a slow, evolving work in progress. I have a lot of mini quilts from various quilting friends and swaps, and a few minis I have made as well.

A month or so ago, I finally made a little mini I have had on my mind for a long time. I grew up a huge Star Trek fan, especially Next Generation. "Make it Sew" gives a nod to two of my favorite things. I used the foundation paper pieced pattern called My First Alphabet by From Blank Pages. Fabric is a mix of Bonnie and Camille lines on Vintage Modern low volume dots with Tasha Noel Vintage Market navy binding. Let's just pretend that the word "sew" is perfectly centered, or let's call it jaunty.


I originally had it hung in the top left of my sewing corner, but it was too narrow for the space. I decided to move it, and wanted to fill the space left. My quilting friend Ellyn and I decided to do a little mini quilt swap for our respective sewing areas. I was pretty excited about it; Ellyn and I are kindred spirits and I love her work. I was also happy to have a small, short time period swap with no pressure of extras. 

I have been eyeballing CraftyPod's free Cover Girl Rosette Pattern (from the cover of her book on English Paper Piecing called All Points Patchwork). I decided to make four blocks and applique them onto a netural background. Ellyn's only space requirement was to keep the quilt width at 16" or less. To accommodate Ellyn's wall space, I scaled the pattern down to 85%. I am disappointed that I didn't take any decent photos of the blocks as I made them. I didn't set out to fussy cut Bonnie and Camille scallops for each block, but after I did one it just seemed to be the natural progression of things. I love the effect. 


I hand appliqued each block onto a Carolyn Friedlander botanics low volume print. Sorry it is so hard to see in my too-bright pic. Placement of the blocks was interesting. I creased the center and halfway from the center to the edge, measured where each block should be to line up, and then made little dots at where each point should line up with water soluble marker. You can see creases and dots a bit in the pic below. I have no idea if this is a good or goofy way to line it all up, but the end result worked out fine. I tried doing the applique in a hoop, but that mostly annoyed me. I appliqued the last three without a hoop.


I was able to use my new custom rubber stamp on a twill label. 


Ellyn made me an awesome Thimble Blossoms Picadilly Circus dresden plate using Hello Darling (my current fabric line obsession) mini with paper pieced "Create" underneath. I love to have quilty messages on my wall, along with super bright and scrappy fabric. I also requested a bit of an odd size to fit the hole in my space. She nailed it! I love how the orange background makes the dresden plate and "create" pop.


Thursday, February 12, 2015

Rainbow Hexie Mini and EPP Finishes

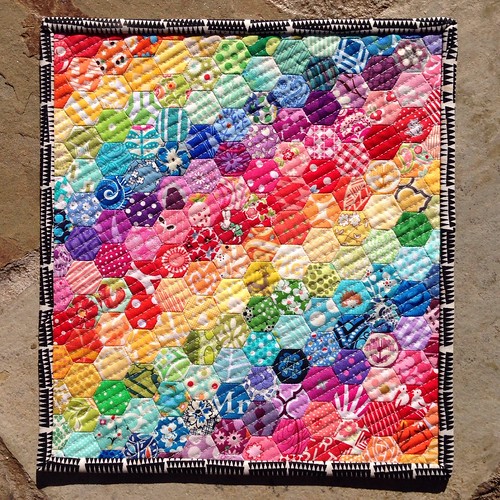
Rainbow Hexie Mini - 10" x 12" using 1/2" hexagons 

I posted last month about the rainbow (plus pink) mini quilt I was working on, using 1/2" hexies. I haven't been sewing as much this year as I try to reclaim an organized craft and home space, but I managed to finish the quilt a couple of weeks ago.I am so happy with this little quilt. It finished at approximately 10" x 12", which is the perfect size for the wall in my little sewing corner. 

I taped it up on my wall temporarily, but as of yesterday, it has been removed along with all the other minis while I reconfigure the wall space after adding a fresh coat of paint to the room.

Happy little corner

I dusted off a 36 degree diamond WIP with Lecien Flower Sugar 2013 that had been languishing in my closet drawer for over a year. I was not pleased with my center points (these diamond points are sharp and I tried to be clever when I pieced them - to my detriment), but with the addition of a center circle applique, I found a way to love and finish this project.

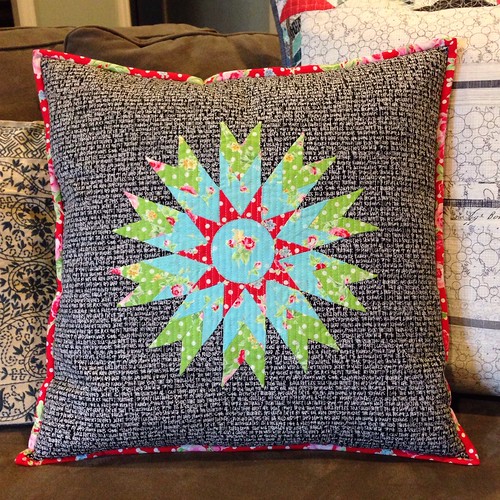
I hand appliqued the diamonds to Carolyn Friedlander's Architextures scribble fabric while watching the Super Bowl, straight line quilted, and made a 20" pillow with covered zipper back. It fits in perfectly with the other pillows on the sofa. Stay tuned - there will be many pillows made this year.

Diamond EPP pillow

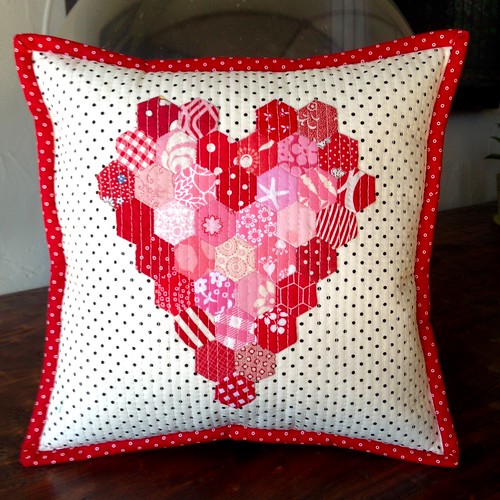
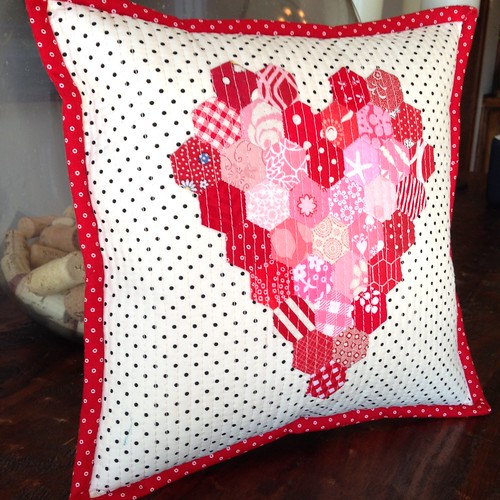
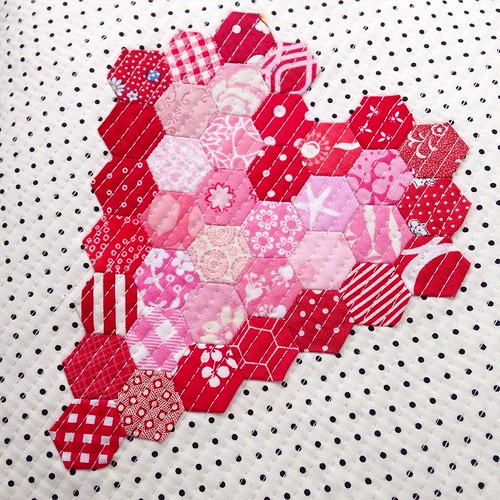
My final recent EPP finish is a little hexagon heart pillow. I thought this would be a fun way to continue moving through some of the 1/2"hexies I basted from my scraps. I hand appliqued the heart to Riley Blake Le Creme Swiss Dots (one of my favorites!), did some easy straight line quilting, and added a covered zipper back. This little pillow finishes at 10" square.

Quilted Heart Hexagon Pillow

Quilted Heart Hexagon Pillow

Heart Hexies

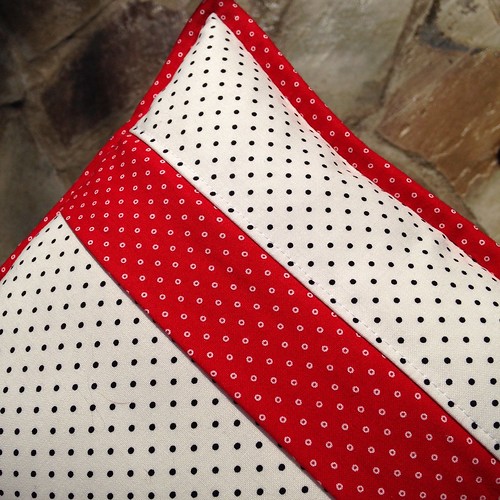
Pillow back - covered zipper

Well, I suppose I appear to be doing a little sewing lately. I'll have a separate post on a project that took a week or so from quilting...

Thursday, January 15, 2015

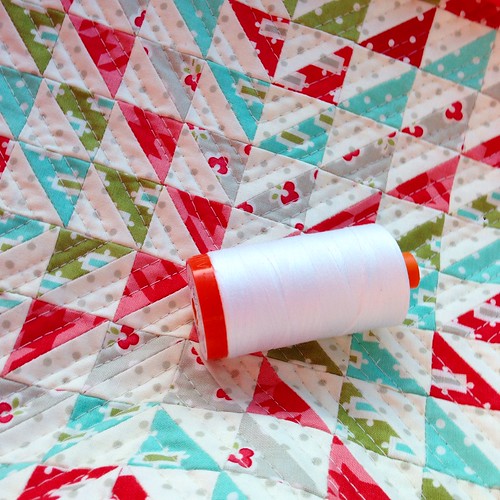
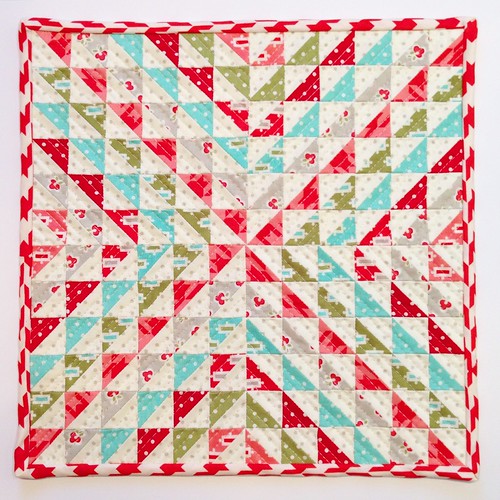
Vintage Modern Tiny HST Mini Quilt

The first finish of 2015 is a little Bonnie and Camille Vintage Modern HST mini that was largely complete in December. I had to set the top aside for a few weeks to focus on holiday sewing, and to focus on organizing the closets (a task that has taken far too long).

12" Vintage Modern HST Mini

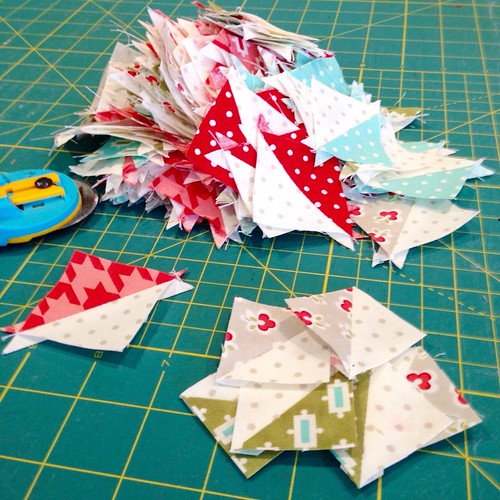
The layout of this mini is almost a happy accident. I didn't have a plan when I started, and the whole process was somewhat organic. I had approximately 176 leftover flying geese units to work with. I pieced, pressed, and trimmed all of them to 1.5" before I started laying them out. To be honest, I dislike trimming HSTs, particularly the teeny tiny ones where every fraction of a centimeter shaved off in error means mismatched points. I decided not to care as much about matching points as I am usually inclined to be; it made the trimming go by faster (and of course, faster is still hours and hours).

175ish HSTs

I played with making an organized layout and was pleasantly surprised when my first layout worked. I had the most HSTs in tonal pink/red houndstooth and laid them out in a pinwheel/X shape. Each V shape echoing the center pinwheel was determined based upon how many HSTs there were of a given print. To make the red and aqua work, I had to mix prints, but tried to make the mix organized and purposeful.

There are so many tiny little seams in this mini quilt, it kept rolling up on itself. I stored the top under a stack of textbooks to keep it flat until I could baste and quilt it. I straight line quilted the mini in Vs and used some leftover vintage modern red and white houndstooth bias binding I made last year for a pillow.

I love this little mini. 144 1" HSTs. Finished mini size: 12" square

12" Vintage Modern HST Mini

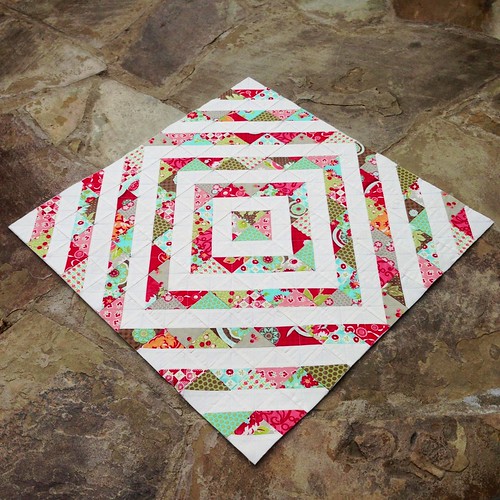
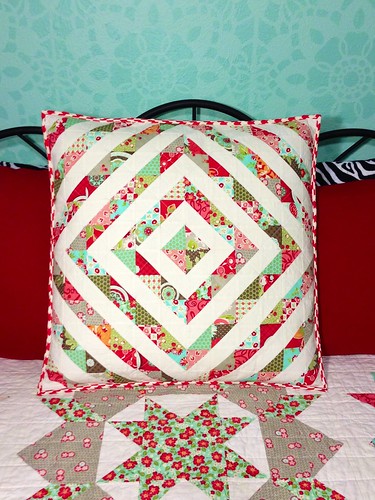
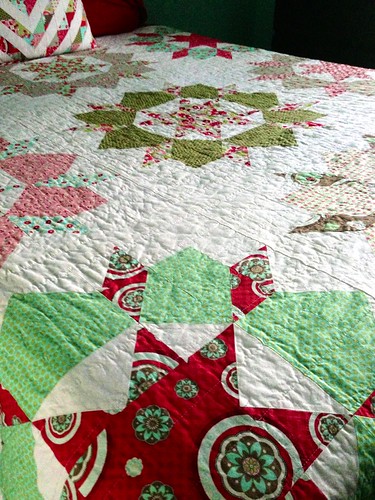
It matches the much larger HST pillow I made exactly one year ago using leftover flying geese triangles after making a Swoon quilt.

Bonnie and Camille HST quilted pillow top

HST pillow from Swoon quilt flying geese leftovers

Swoon