

There are so many blog posts out there about the Amy Butler Weekender Bag pattern. When I decided to make my first one two years ago, I was overwhelmed by all of the blog posts and finally just decided to work through modifications on my own. I am on my third bag joining up with the Weekender Bag Sew Along hosted by Sewlux and Happy Little Cottage, and I am trying some new techniques. Chrissy from Sewlux has a ton of really great tips on her blog and has made some stellar bags.
I tend to use my blog to earmark how I make things so that I can remember down the line. I made lengthy handwritten notes with my first bag and typed them up into a lengthy blog post. It was pretty helpful for the second bag I made and to reference this time around as well. But I also blog to give more detailed info and everything in one spot for people who are interested. If you are on Instagram, you can take a peek at the hashtag where I posted the evolution of each bag #threeowlsweekenderbag and the 2016 Weekender Bag Sew Along hashtag where there are so many creative people joining to to make this crazy bag that allows for a million modifications - #wbsa2016. I am moving way ahead due to multiple obligations next month as well as needing to clear out the piles of cut pieces and supplies.
It was pretty ridiculous. All those 1/2" hexies and multiple quilt blocks.Here it is:

I am making this third bag for my oldest daughter and I wanted to make something cool, but not as complex. I also wanted to try and use duck canvas behind batting rather than my Peltex behind batting method.
Planning:
All Cotton + Steel fabrics - mostly Tokyo train ride and some Melody Miller
Piping and straps - c+s navy sprinkle counting stars
NOTE ABOUT PIPING AND STRAPS:
I buy one yard to make bias cut piping for this bag with some leftover, but it makes nice long strips that have less joins. Since I used the same fabric for straps, I bought 1.5 yards. See below for cutting straps.
Piping made using piping foot not the Steam A Seam method this time (takes forever!)
I think I would also be willing to try glue basting with Elmer's. I love Elmer's Glue Stick for sewing so much that I buy it in bulk.
Quilted 1/4"ish with batting on entire exterior
Duck canvas behind batting for main panels, top panels, bottom panel
Top panel and main panels: Quilted but not pieced
Main Panels:
No piecing
Main panel 1 - Melody Miller Bees
Main panel 2 - Tokyo Train Ride
Straps:
Lengthened 1.25" x 52" finished with 1.25" webbing inserted
I cut the strips WOF and joined them with a diagonal seam
This is .25" narrower than my previous straps and I like it just as well.
Exterior Pockets:
No canvas - batting only
I don't think it is necessary and would be pretty bulky.
Main Pockets:
No canvas - batting only
Main pocket 1- Tokyo train ride canvas scene - no piecingMain pocket 2 - 2" finished patchwork
End Pockets:
No canvas - batting only
End pocket-mustard mustang
End pocket - first initial "R" using reduced size Spell it With Moda pattern (pic below)
Interior:
Interfaced with shape flex SF101Lined slip pocket on one side - using main pocket panel pattern piece, stitched down middle to make two slots. Cut one exterior and one lining, stitch across the top RST, turn right sides out and topstitch, baste to lining, stitch down the middle to make two slots.
Inset pocket on other side with 9" zipper (see below for dimensions)
Bottom exterior:
Navy duck canvasOne layer of Peltex behind duck canvas bottom 1/2" smaller all around - both quilted to batting
MAYBE two layers of Peltex to insert in bottom - adhere in place after bag exterior is completed using spray adhesive (because I am lazy and don't want to use the interfacing method. I'm also not convinced that this particular bag version needs it with the Peltex, canvas, and batting already on bottom.)
False bottom:
Same as pattern
Lining:
Hand stitched in same as pattern
Exterior zipper:
Separating Sport Zipper tacked on the separating end - it is hard to find 30" non-separating zippers
Prepping:
Most of the time when I make something, I like to bounce around between cutting and sewing. I don't really like to do that with the Weekender Bag though. I like to cut all of the pieces, then prep them, quilt, assemble.
I knew I wanted to use a lot of Tokyo Train Ride by Sarah Watts. I bought a lot of it and was gifted a nice selection of it, and my daughter loves it. I pulled a bunch of fabric and gathered supplies to start editing with her input. I also grabbed my bag so I could measure my interior zip pocket placement. I made my piping and straps before I did anything else.

Straps:
I attached using the same method I previously used and with webbing inserted instead of Peltex. I mark the top line as the pattern states and I sew across there and edgestitch all down the length of the straps on both sides and then sew an X at the top attachment even more stability. I usually just eyeball the X box, but using chalk to mark probably made for a better result.

Interior pockets:
Here are the particulars if you want a 9" pocket as well. So many tutorials for zipper pockets. I like this one.
Cut two rectangles 10.75" W x 7" H (not super deep but deep enough to fit some stuff without it getting lost).
Centered 3.5" from the top of the lining. Draw 1/2" tall rectangle 1" down and 3/4" in on each side.

Here is a pic of my pockets in very bad late night lighting:

Pieced main pockets:
I really like to use wax paper or freezer paper to help me plan out how much of what I need and what it looks like prior to stitching, especially since the pocket is angled. I was thinking 2" patchwork so I mocked it up on freezer paper. When I made my hexie pocket previously, I used wax paper cut the shape of the pocket to see how much to keep adding.
I know it took a few minutes, but by mocking up my patchwork pocket on freezer paper, I was able to quickly see how my pocket panel would look with mini charms centered and how to cheat around the edges that will be mostly hidden by the 1/2" seam allowance.
Here is how I did it if you are interested in not using squares for the sides that will be covered:
(40) 2.5" squares - 8 across x 5 down
On each side: (2) 2.5" T x 1.5" W strips at the bottom
and (1) 7" T x 1.5" W strip at the top (only about 6.5" needed so trimmed down after attaching).
I pieced the squares first and then added the mishmash scrap on the sides after. The long strips will almost all be hidden in the seam allowance.
(These measurements have some overage on all sides to quilt and then trim to size.)


Quilting panels and then cutting to size - or not:
I couldn't easily go bigger on the size of the quilted panels when I did the method with 1/2" smaller Peltex behind the batting and I didn't do that on most of my panels here - I just cut my main panels with the pattern piece, basted, quilted, trimmed. I used my walking foot with the presser foot pressure super low and occasionally stitched from the opposite direction.
It might be a good idea to make the panels bigger, quilt, then cut down, because it can shrink up, but it worked fine three times, but please don't try it my way and get mad if it doesn't work - do at your own risk and stop if it is warping badly. LOL
I definitely cut using the top panel pattern piece and then quilted. The sheer amount of waste in my aqua Farmdale Blossoms with the first bag would have made me cry. I also fussy cut the Tokyo Train Ride print I used for this bag and it was easier to cut first. You have to be SO careful about basting this evenly though. I cut my batting and canvas nicely and used my 24" long acrylic ruler to help and spray basted it without a lot of stretching.
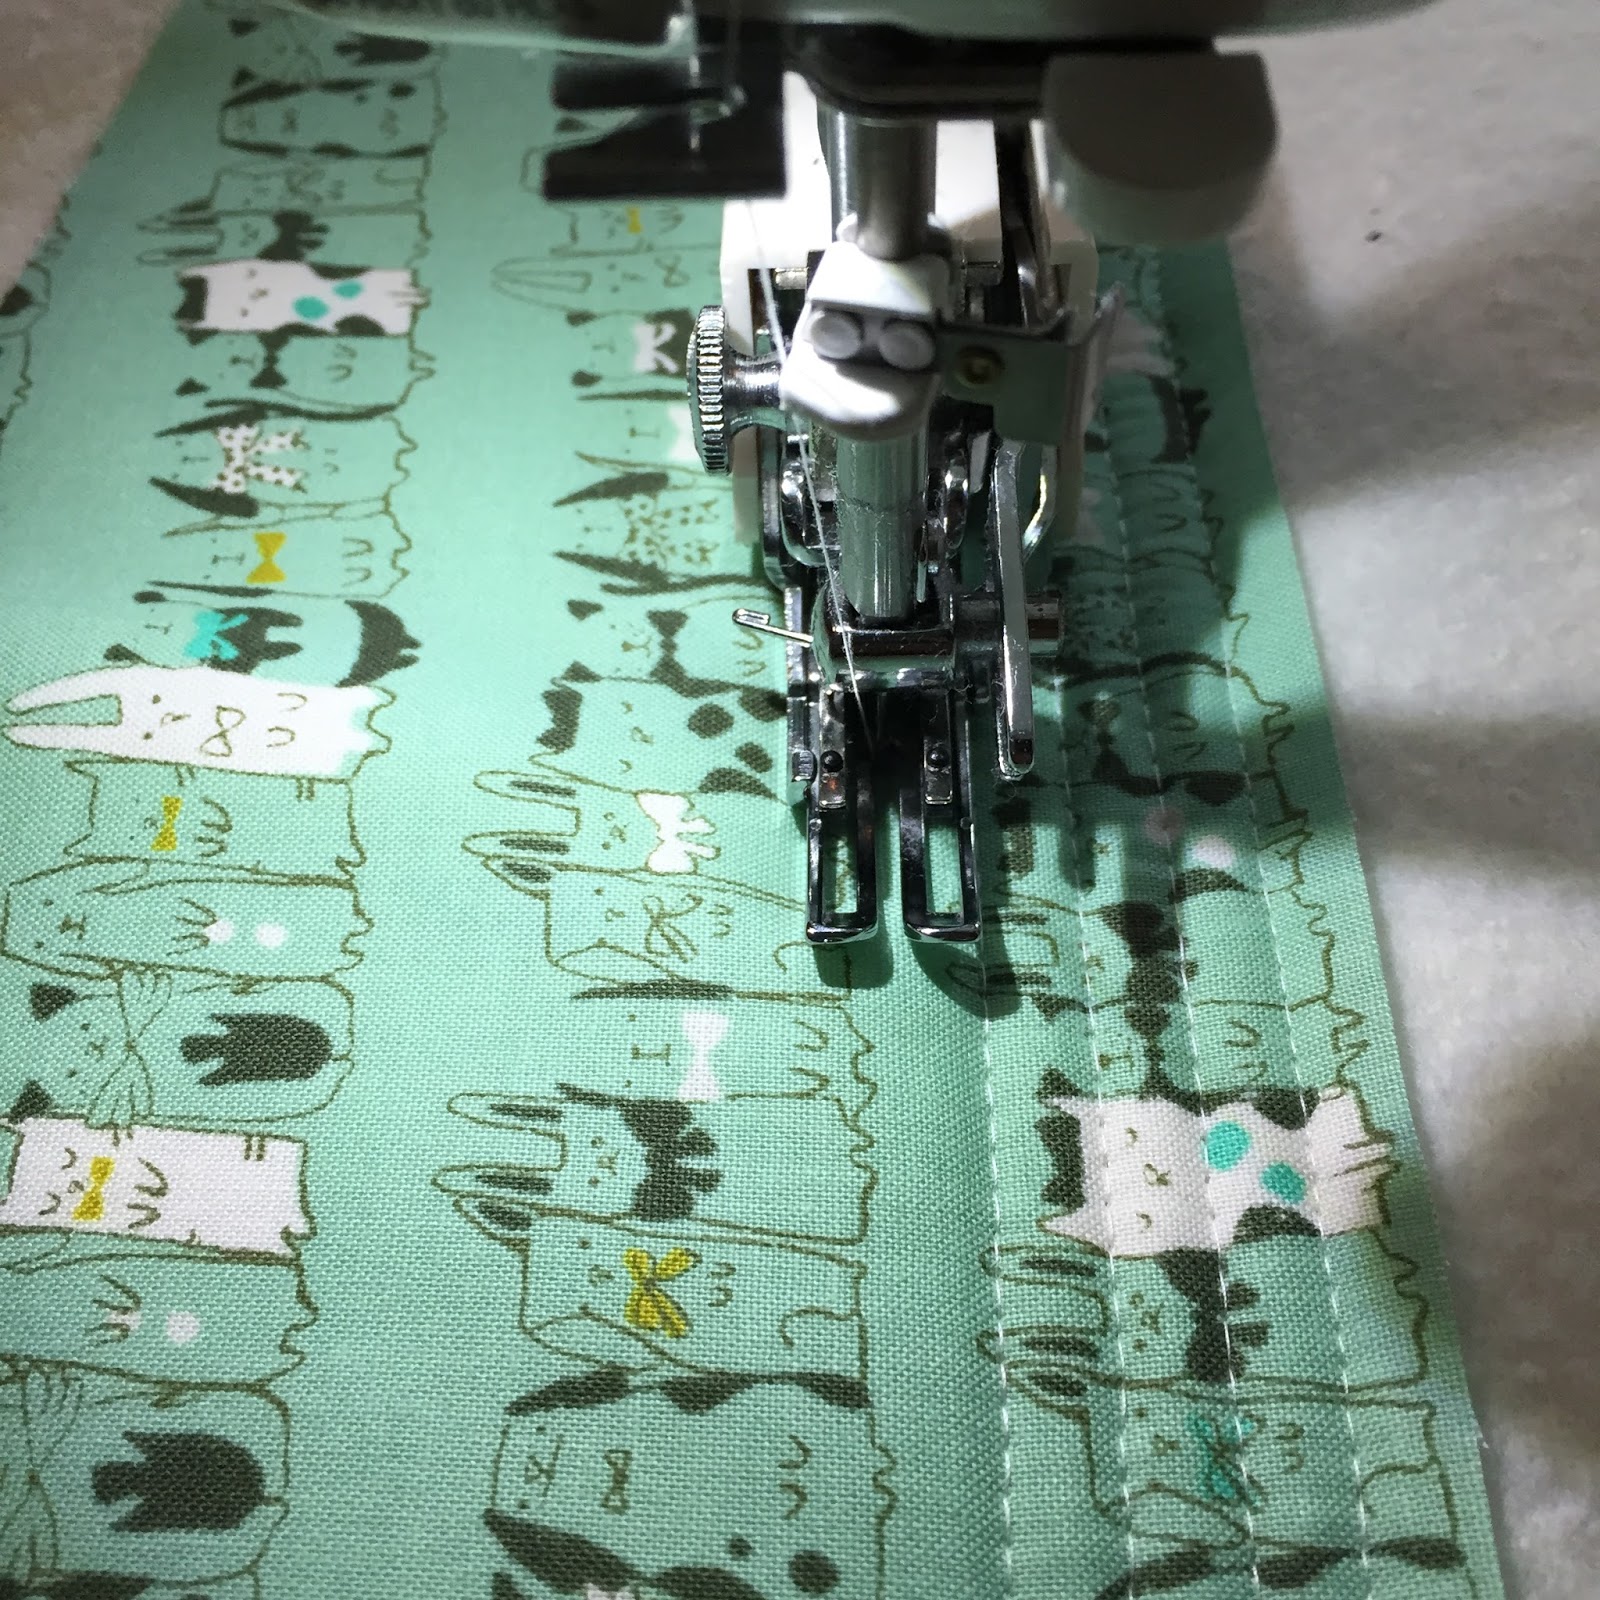
Quilting:
I did my Ish Quilting - not exact. I love the texture, but densely quilting will add a million pounds to the weight of the bag. You can also see more of the straps and piping across the top of the main pocket as well.

End pocket:
I really love how this block turned out! My daughter LOVES sloths, but who doesn't?

Bottom Panel:
I wanted to sandwich the Peltex (cut 1" smaller, so 1/2" smaller all around so it doesn't get in the seams during bag construction). I layered canvas, then the Peltex with basting spray, then batting.
I'd also like to say that I added feet to the bottom of my first bag and it was a mistake. They weren't big enough and it was stupid and pointless, and I am still mad at myself. If you do it, buy some good size feet.

Ok, in my next post I will have my piping corner cheat that helped me avoid having my corners eaten in the bottom curves during assembly and some actual assembly tricks I figured out on this bag for an overall better effect. Well, for me anyway. There is no right or wrong, just what works best for each individual person. I hope to have that post up pretty soon. My bag exterior is done and just needs a lining. :)


